Hi guys 🙂 sorry it’s been a while. I haven’t had a lot of time to write on here since being back at work. You know how it is? You eat, sleep, work, clean then repeat. Story of my life. I have managed to get a little bit of sewing in though (when I should have been cleaning lol). In particular yesterday. And it was actually very lucky I had an RDO otherwise I may have been left wearing a pair of knickers on the outside of my leggings lol. Wouldn’t that have been a sight.
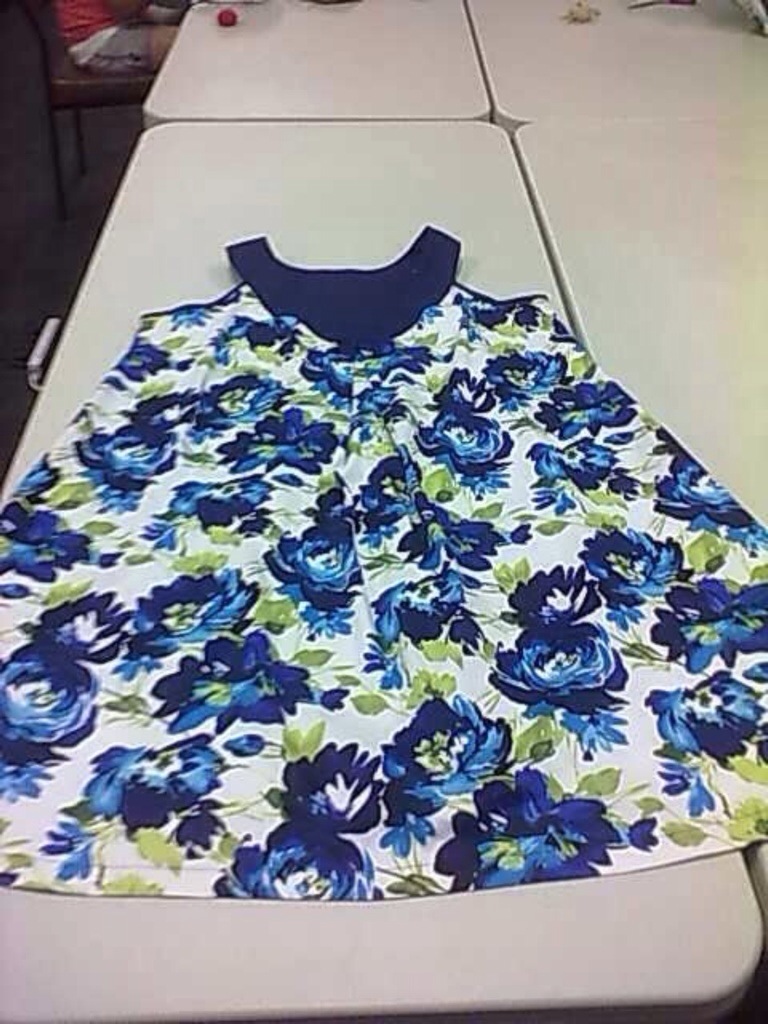
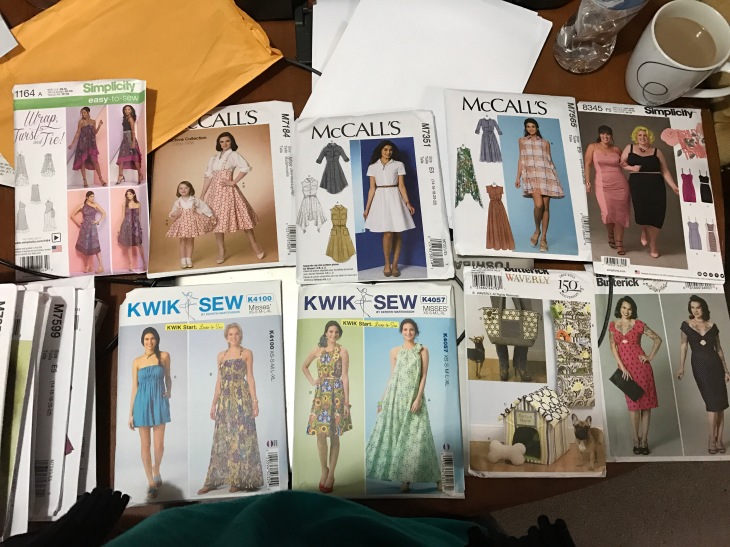
Anyhow, I was lucky enough to finish early the day before so after work I drove on up to Bathurst to my nearest Spotlight store with this pic in hand for inspiration.

In fine form as per usual it turns out that this pattern isn’t in Aussie stores till next season.
Plan B
So I decided how hard could it be to come up with something myself similar. Not very it turns out.
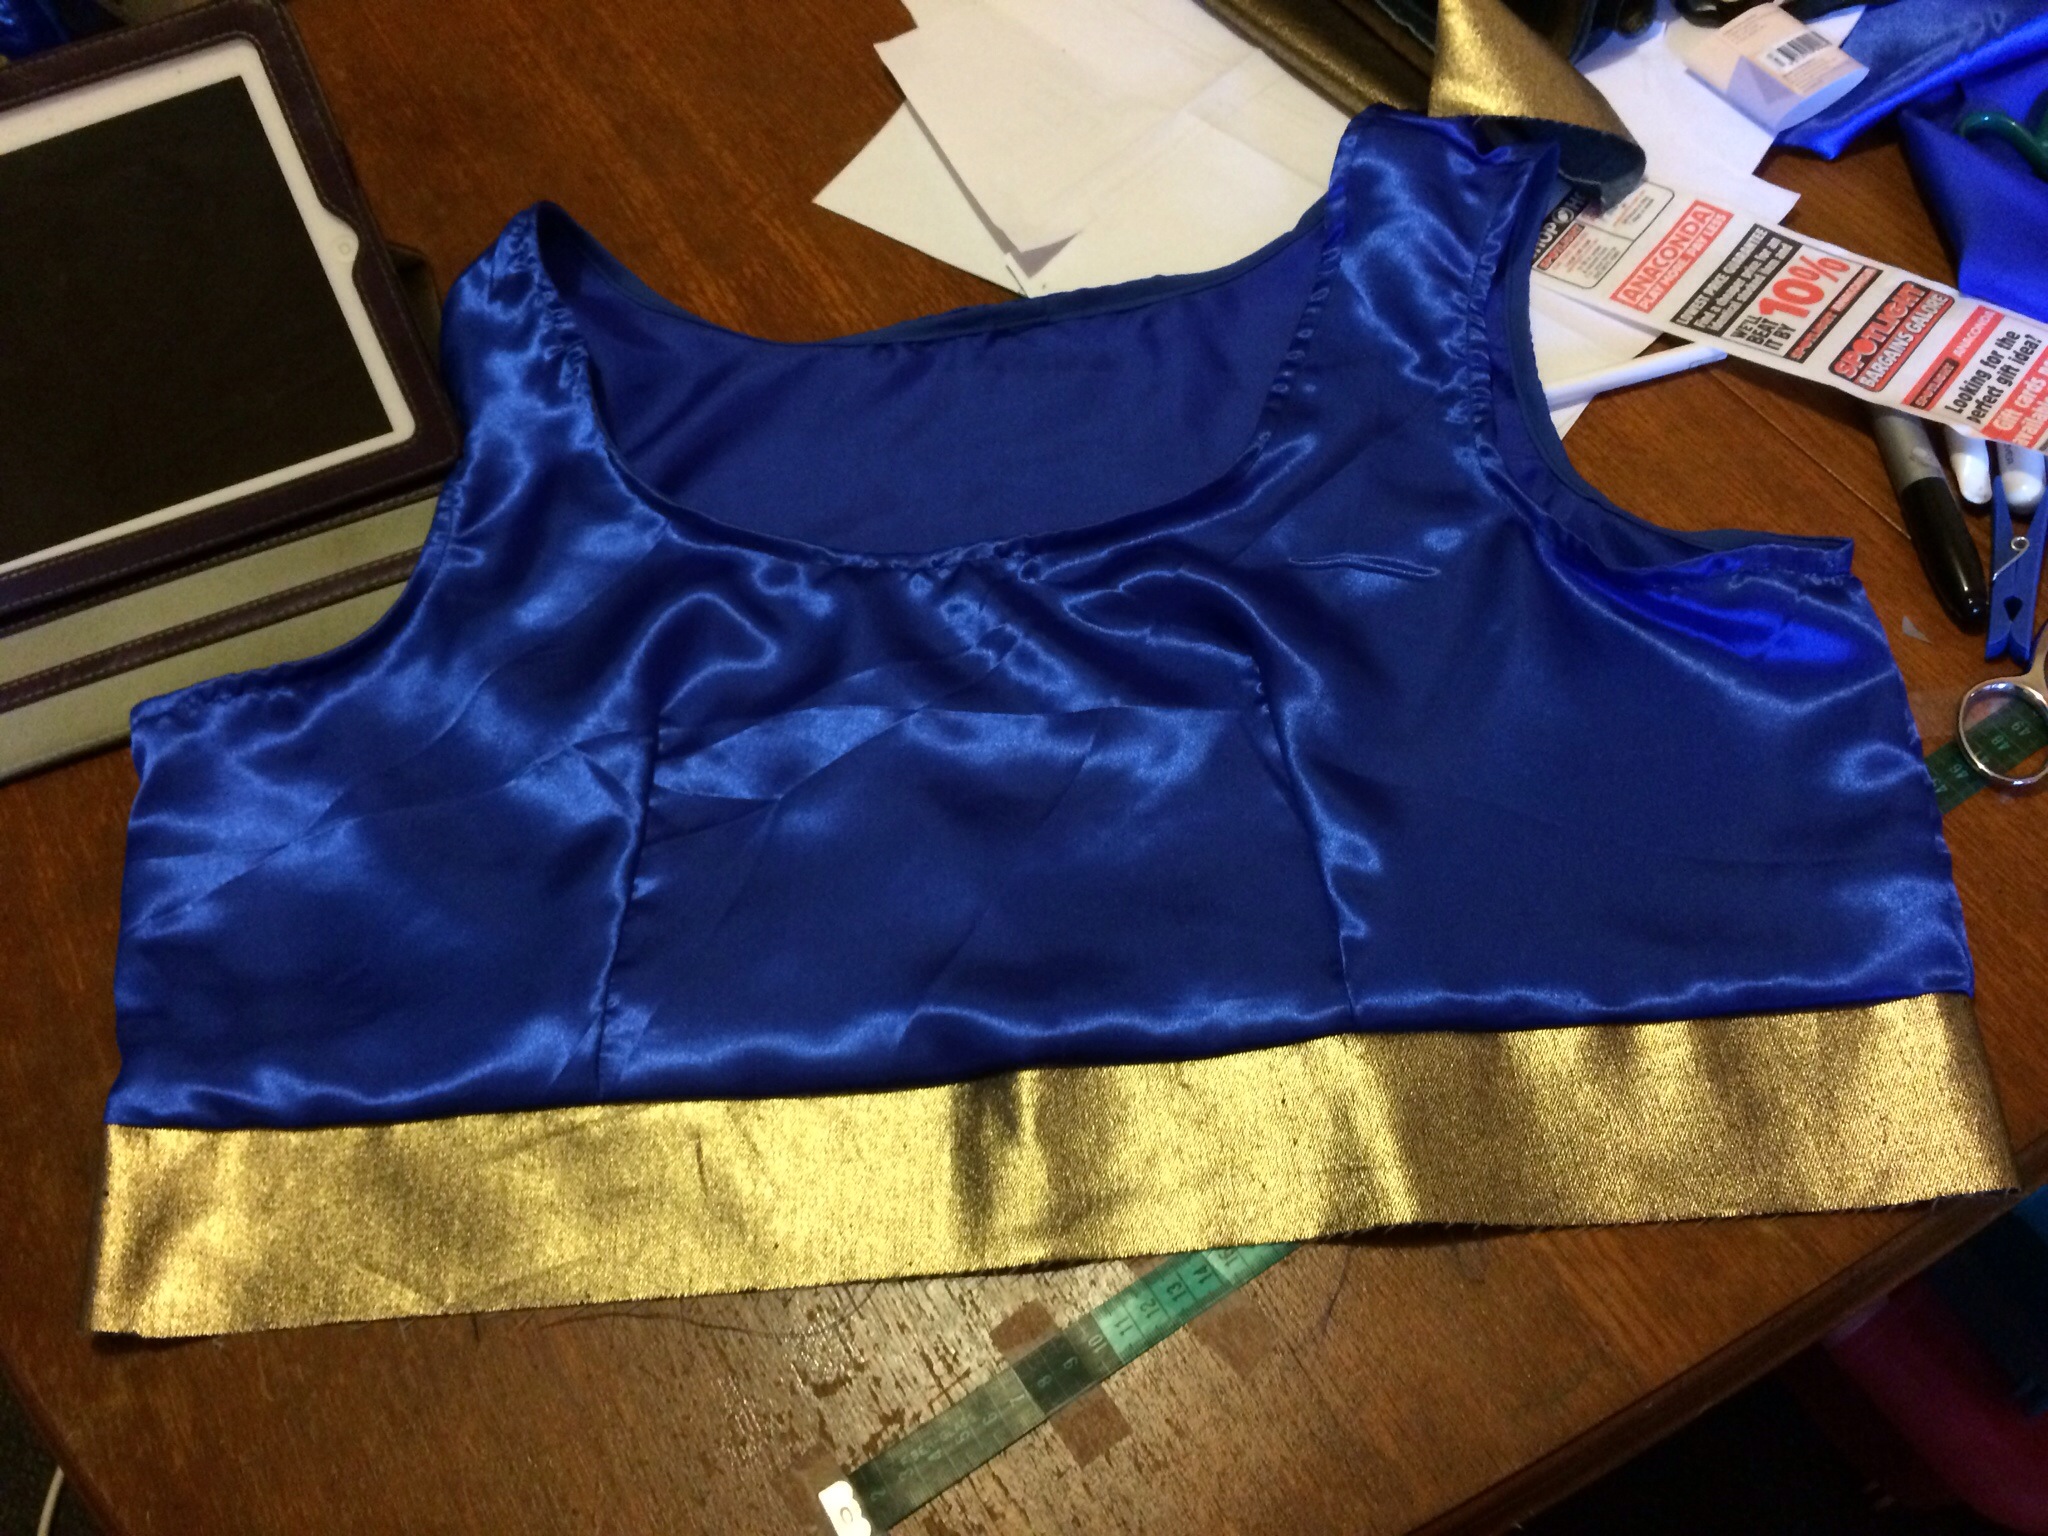
For the bodice I used the Sis boom Angie pattern which I’ve used on previous projects. I used this lovely blue satin and bound the neck and arm holes with blue bias tape folded under then stitched. I then cut a 3 inch thick piece of gold stretch denim (I never realised his hard it would be to find suitable gold fabric) by the width of the bodice x 2. Sewed the ends together and with the seam at the centre back attached it to my bodice.

I then cut a standard circle skirt from this lovely red rayon and attached that to the band, stretching the band slightly where needed to fit. I then overlocked the bottom hem with my 4 thread overlocker and folded it over twice and sewed for a clean finish.
For the cape I used the width of the rayon x my shoulder to ankle length. I simply cut a curved edge at the bottom and hemmed the same as I did the dress. I didn’t bother doing the sides because they were both salvages anyway and I figured they with be safe from fraying. Plus I didn’t want it to be too bulky.
At the top of the cape it was too wide so I put about 5 one inch pleats overlapping one another on each side and ran a basting stitch thought the pleats. I then overlocked the raw edge the whole way along.
To attached the cape I used my KAM snap press. I used two on each shoulder and two on each side of the cape but I wanted the fold over effect so on the cape I put the snaps with the cap on the wrong side if that makes sense.
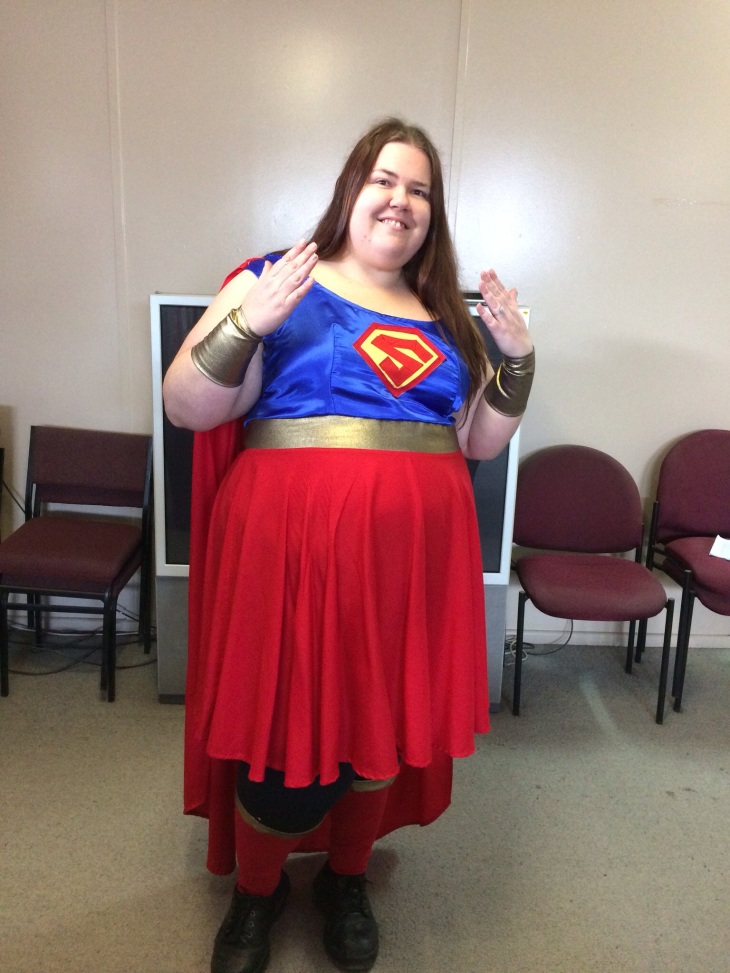
For the emblem I cut the shape in heavy weight fusible interfacing and ironed it onto a piece of scrap yellow cotton. I folded over the edges and stitched close to the edge. I then cut pieces of thin red bias tape and pinned it around the edge, wrapping the ends under so there was no raw edges and stitched. Then I used thick bias tape to form the S and stitched around its edges. Then I found my centre of my bodice and followed the stitching on the red edging and attached it to the bodice.
Overall I am pretty happy with how it turned out.

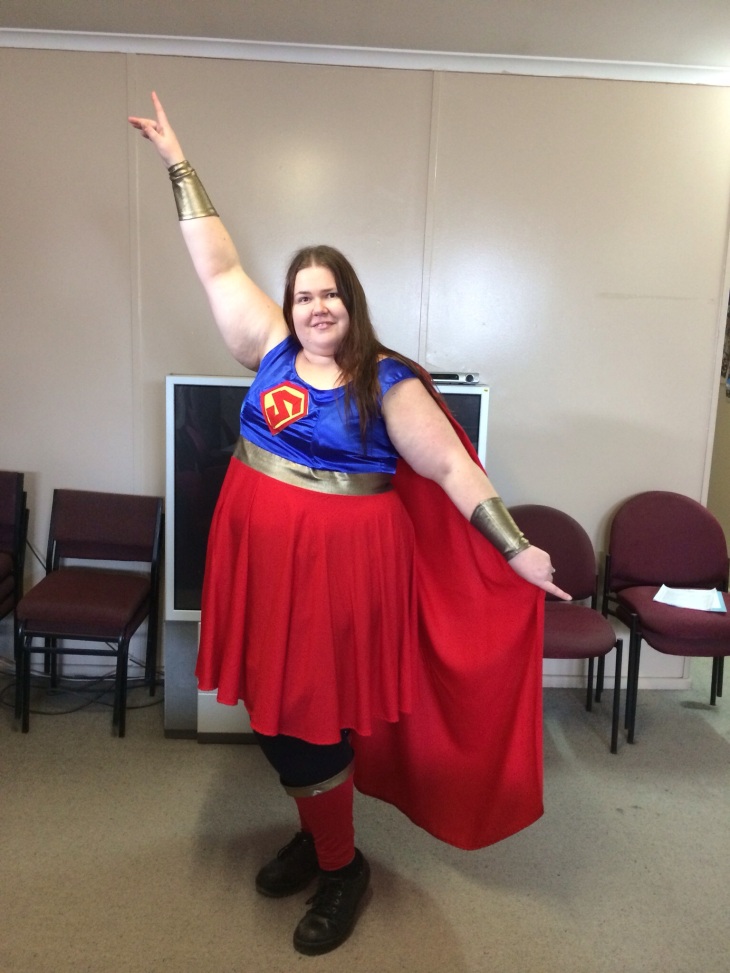
As you can see I also got a bit creative with my scraps and made forearm cuffs and stockings to match 🙂

The dress isn’t actually crooked I was just standing funny…., as usual lol.


Well I hope you all enjoyed that. If you did please click follow for email updates when I write new posts. Feel free to comment with any questions. I should have another post up soon.
Bye for now lovelies xox

 😊
😊